



DERCHI · Commercial entrance planning
Aluminum Storefront Doors for Commercial Projects
Bring the door, frame, glass and hardware into one coordinated opening. Share your door schedule with DERCHI to discuss configuration and supply scope.
01 / Define the opening
Choose your storefront entrance layout
Start with how people enter, then identify what belongs in the supply package.
A layout defines the opening. The selected series, glazing and hardware define the final assembly.
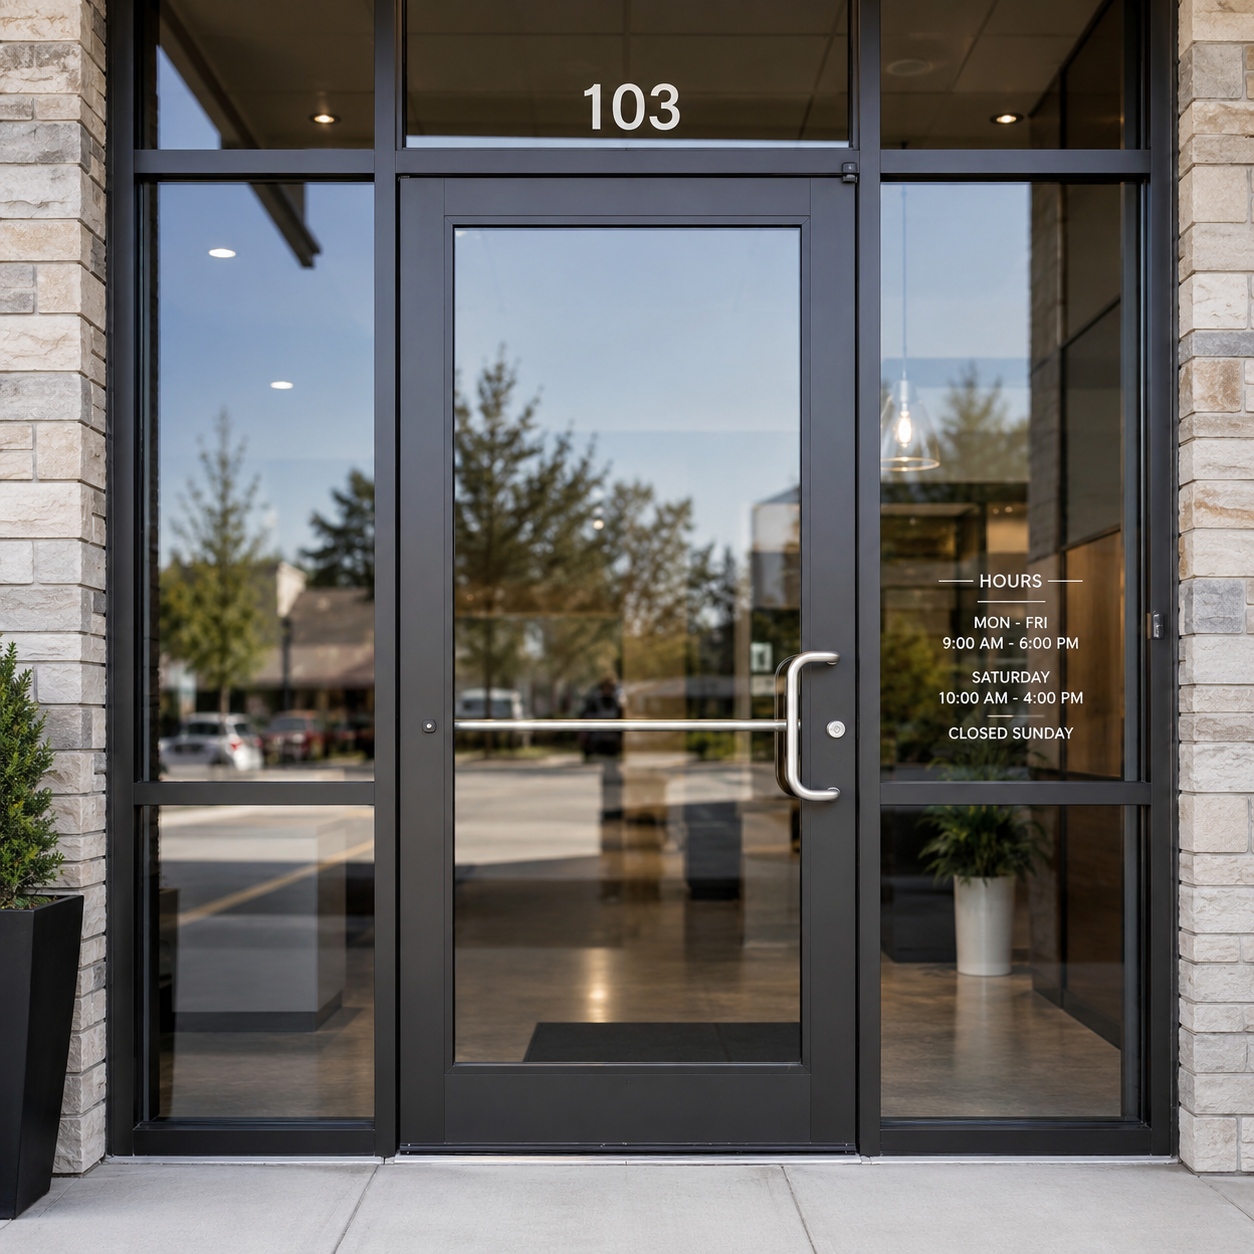
01Single door
Review clear passage, swing space and daily access. Record any sidelight or transom as part of the opening.
02Paired doors
Decide which leaf operates each day and when both open. Coordinate meeting stiles, locking and closing sequence.
03Door + fixed glazing
Coordinate frame depth, head and jamb connections, glass support and the threshold across the whole frontage.
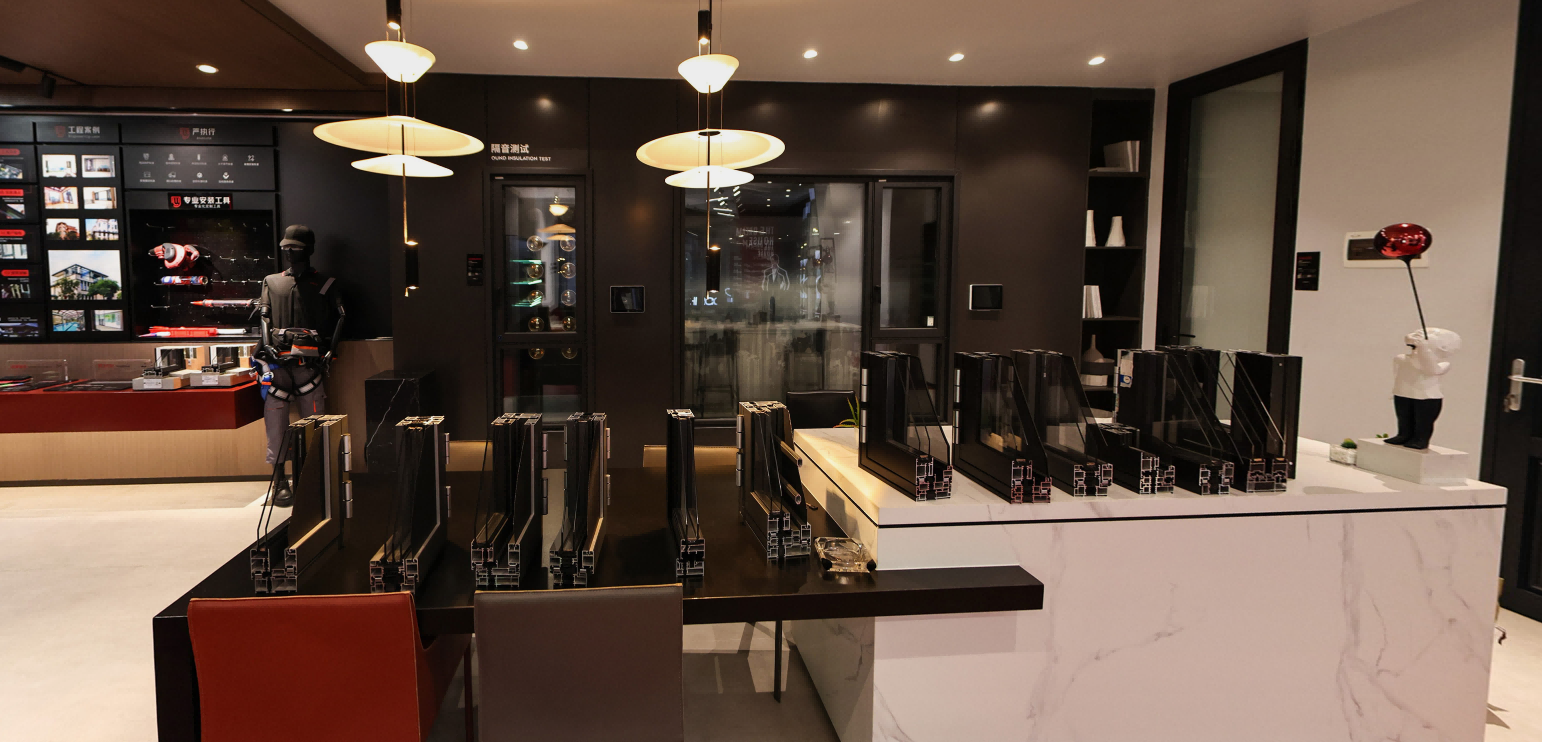
02 / Stile & system selection
Choose the frame around the hardware
The stile is the door's vertical edge. Compare its width with the exact lock, exit-device and glazing requirements.
Prioritize sightlines; check hardware space, templates and glass clearance before selection.
Review the balance of visible frame and hardware space against door size and weight.
Allow for specified hardware and rail requirements. Stile width alone does not establish commercial duty.
Thermal or non-thermal? Use exposure and energy requirements to set the shortlist. Compare whole-door data for the selected glass, frame and threshold.
Keep stile width, frame depth and profile wall thickness separate in the specification.
Related door & window products
Complete the wider opening package
Coordinate the frontage glazing and compare other opening types where the project layout calls for them.
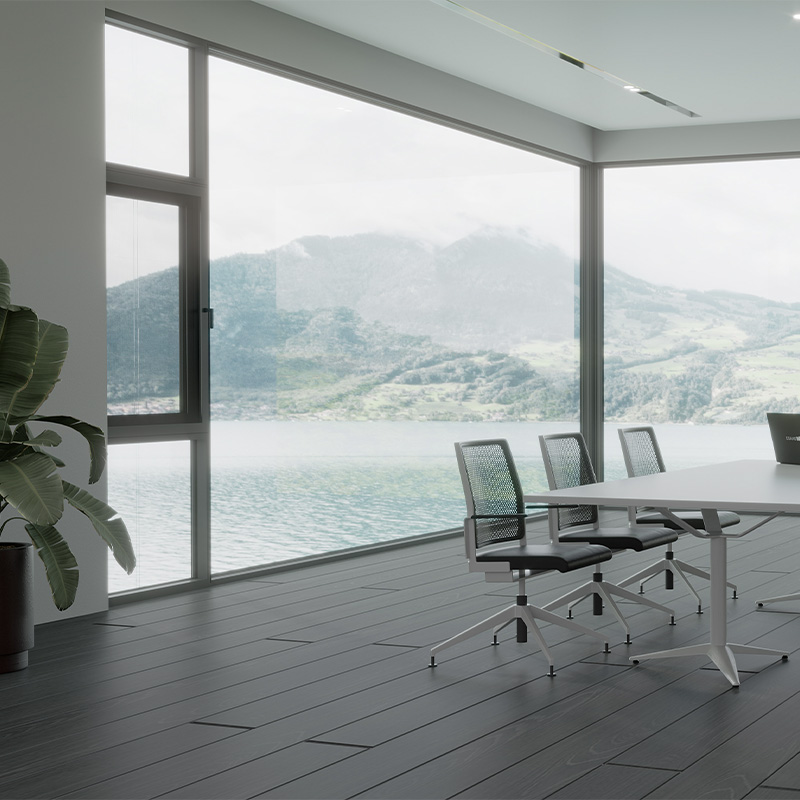
Frontage glazing
Storefront windows
Coordinate fixed panels, ventilation areas and frame interfaces across the frontage.
Explore window configurations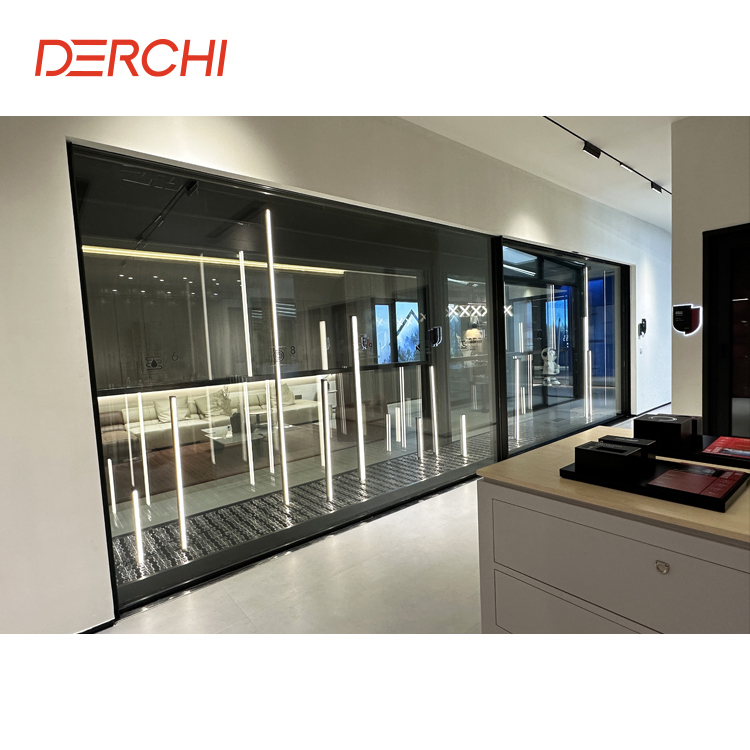
Patio & courtyard openings
Q9 sliding doors
Compare a sliding arrangement for other project openings. Plan side travel, panel overlap and the usable passage.
View the Q9 sliding door
Folding arrangements
80 folding doors
Explore a folding layout where a wider opening is part of the brief. Allow for panel stacking and the customer route.
View the 80 folding door03 / Dimensions & frame fit
Four dimensions. One coordinated opening.
Opening size, finished frame, door leaf and clear passage are different measurements. Mark each one on the elevation.
- New construction: record opening width/height, finished-floor level, substrate and adjacent glazing.
- Existing frame: send section photos, dimensions, condition and current hinge/lock positions before choosing a replacement leaf.
- Handing: show swing direction and the viewing convention; identify active and inactive leaves for a pair.
- Installation interface: assign anchors, movement allowances, perimeter seals and drainage to the agreed system detail.
Measure clear passage with the door open, from the leaf face to the opposing stop. Use the applicable access requirements to review it; nominal leaf width alone is insufficient.
04 / Hardware, access & egress
Plan how the door opens, closes and locks
Public hours, closed hours and emergency exit can require different operating arrangements. Resolve them before machining the frame and leaf.
Hanging & closing
Match suspension, reinforcement and closer selection to leaf size, weight and expected use.
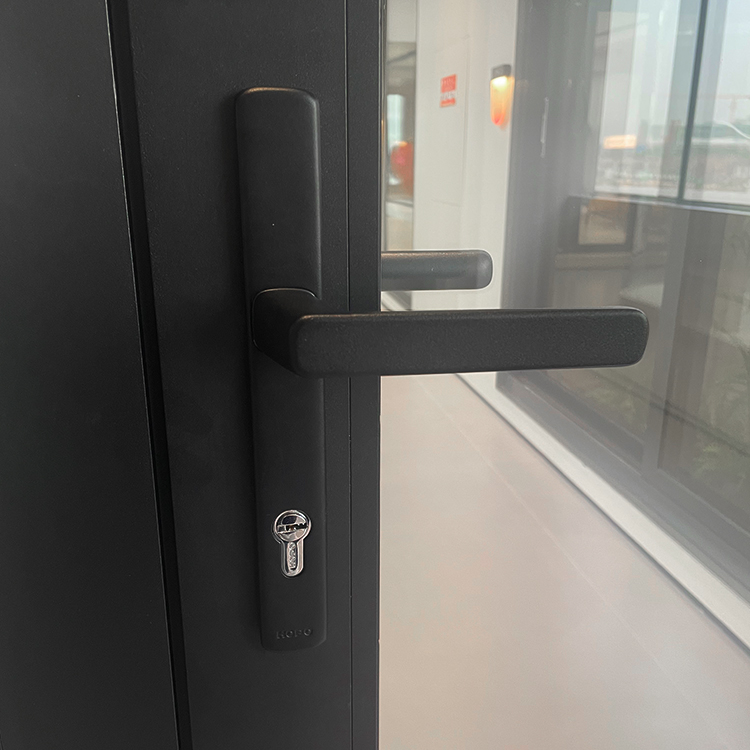
Locking & exit devices
Specify make/model and template. Check stile space, backset, glass setback and any mullion.
Paired-door operation
Identify active/inactive leaves, meeting details and the required closing and latching sequence.
Access control
Coordinate the locking interface, power transfer and exit operation with the project hardware specialist.
For high-use entrances, review applicable whole-assembly and hardware test evidence. Recheck compatibility when components change.
05 / Glass, finish & exposure
Match the glazing to the opening's conditions
Safety treatment, insulating makeup and surface finish do different jobs. Select them together with the frame, hardware and threshold.
Identify the required safety-glazing specification. Glass weight and thickness also affect the leaf and hardware.
Compare whole-door U-factor and solar data where required; glass-only values describe a different scope.
Balance visibility, solar control and privacy. Check the actual sample and intended viewing conditions.
Coordinate seals, threshold and drainage. Review air, water and structural data for the specified assembly.
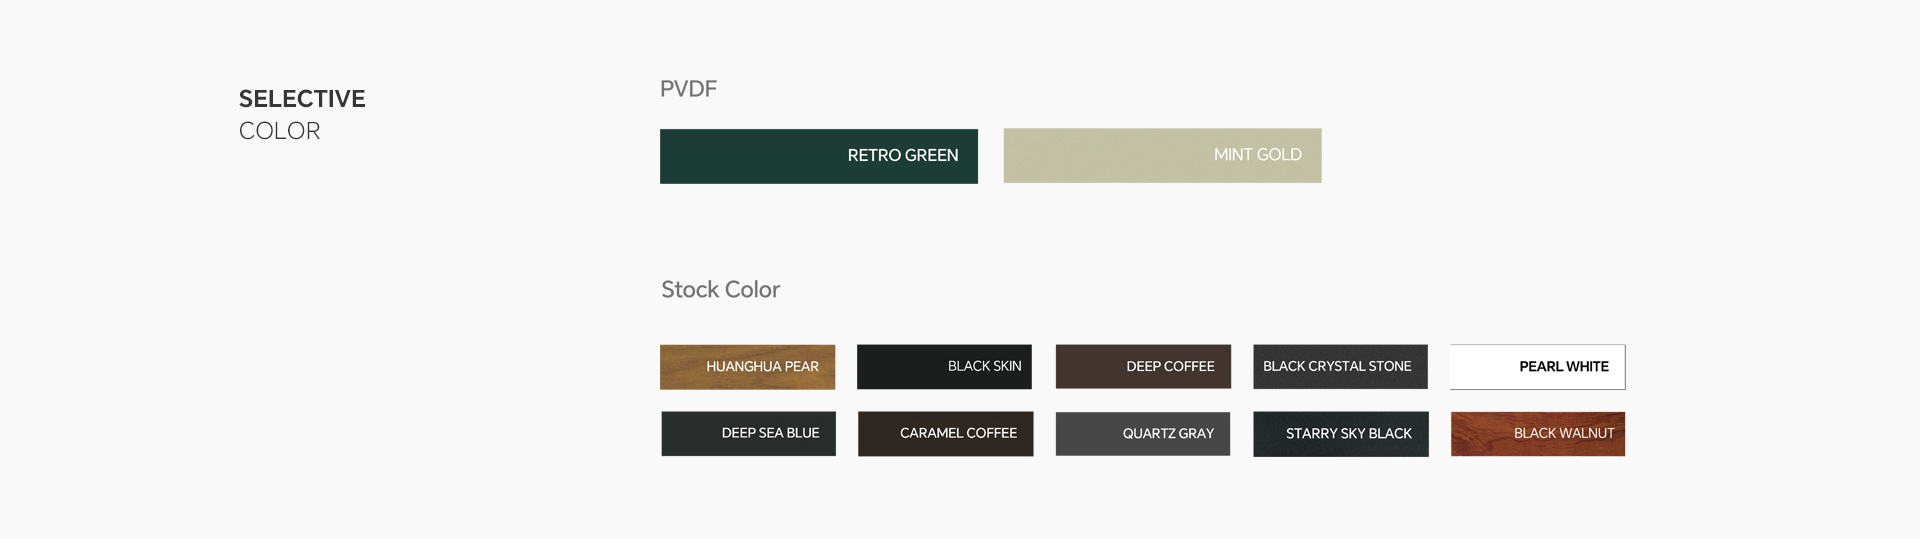
Finish selection: use a physical sample to agree color and texture. Confirm the coating specification and maintenance for the selected system, especially at coastal sites.
Impact resistance and fire performance require the applicable system evidence; a glass choice alone does not establish either.
06 / Project documents
Review files for the actual configuration
Use your door schedule and specification to identify the documents needed for the selected series and project location.

DERCHI catalogue
General product overview for the initial discussion.
Download the general catalogue ↗- System & openingSeries, size/weight limits, glazing capacity, frame sections, elevation and handing.
- Hardware & preparationSpecified components, machining templates, reinforcement and electrical interfaces.
- Applicable performanceReport scope, tested configuration, dimensions, units and conditions that match the project.
- Installation & operationAnchorage and perimeter interfaces, receipt checks, maintenance, parts and written warranty terms.
07 / DERCHI manufacturing
See the manufacturing behind the discussion
DERCHI's production facilities bring profile processing, frame assembly, inspection and packing into the manufacturing workflow.


Turn the opening schedule into agreed materials, dimensions, finish samples and order-specific checks before releasing production.
Explore DERCHI manufacturingDERCHI project references
Explore the wider project experience
Review commercial-building and multi-family window-and-door projects when assessing the wider supply package.
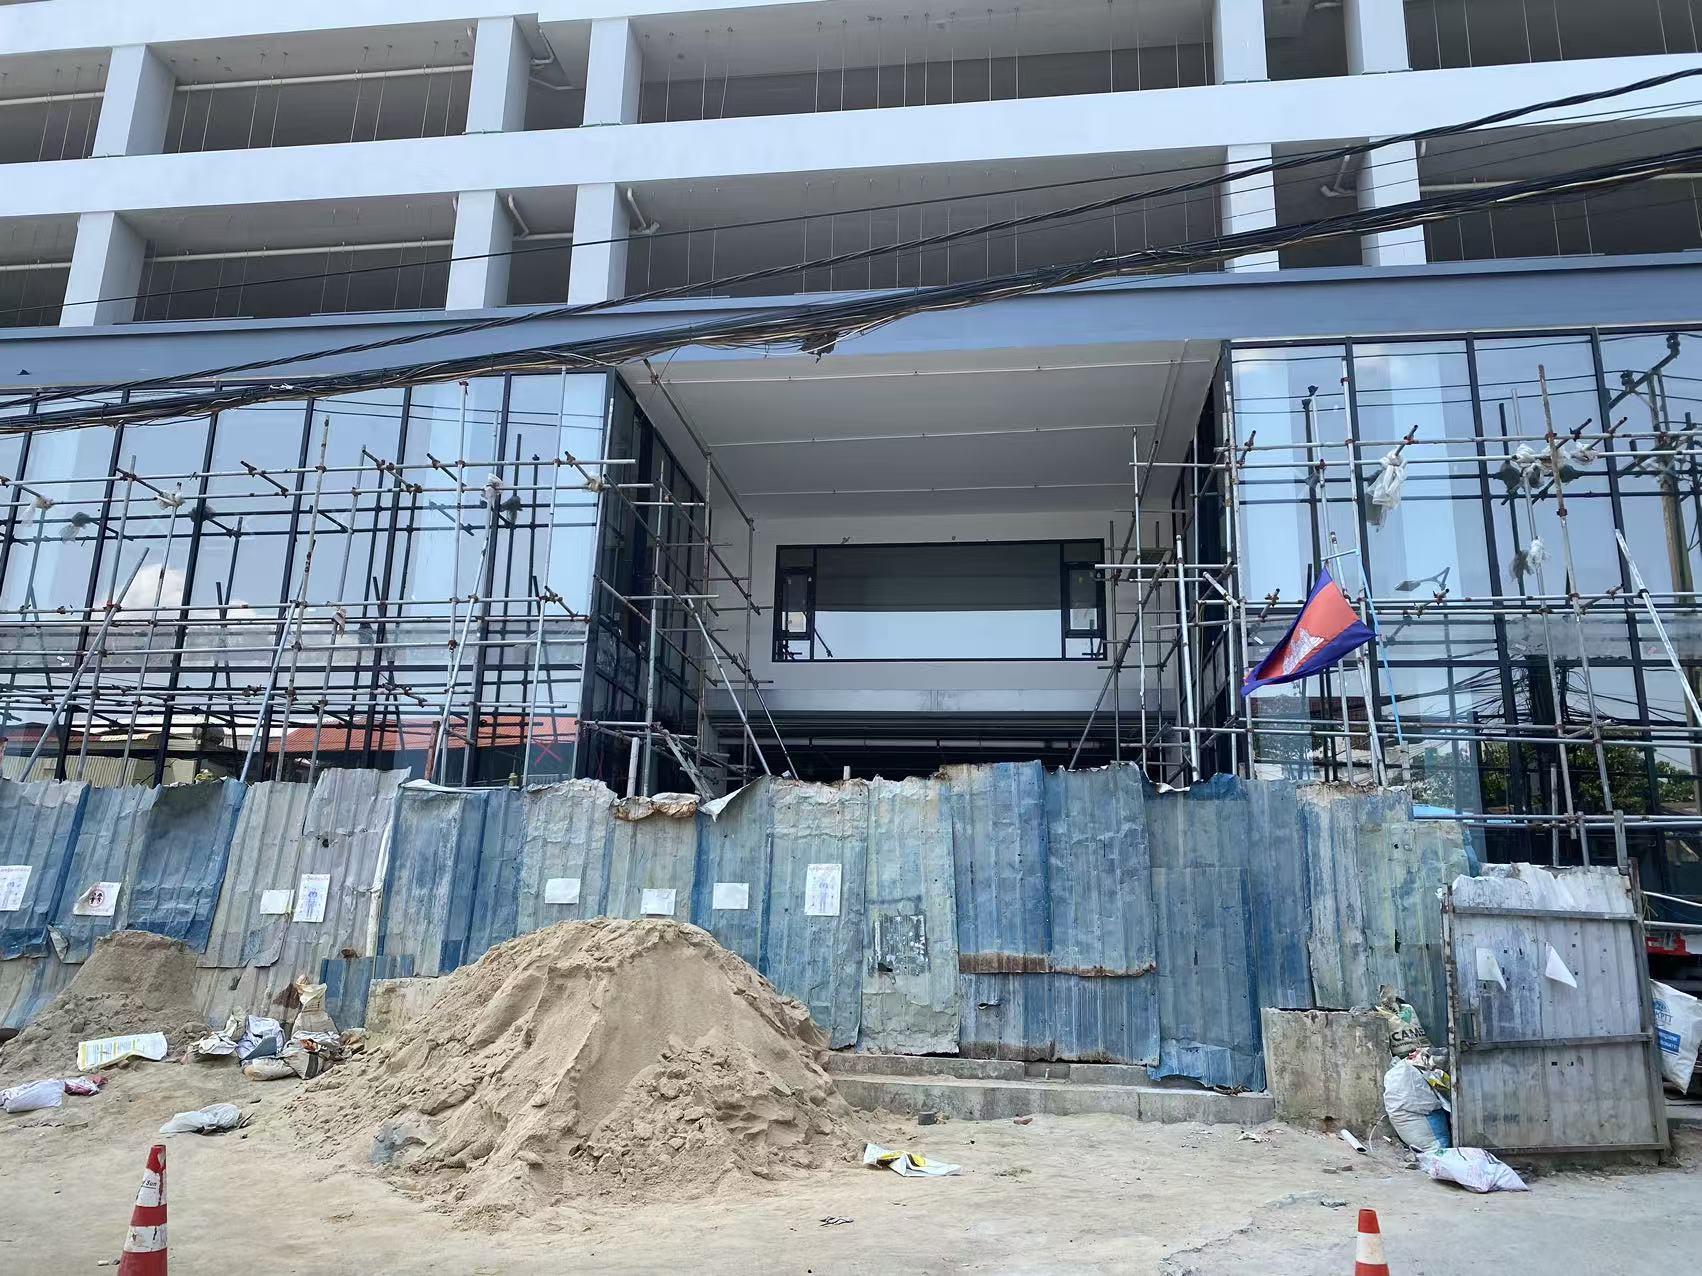
Commercial building · Cambodia
Phnom Penh window & door project
A commercial-building envelope reference. Explore the published project scope and site context.
View the commercial project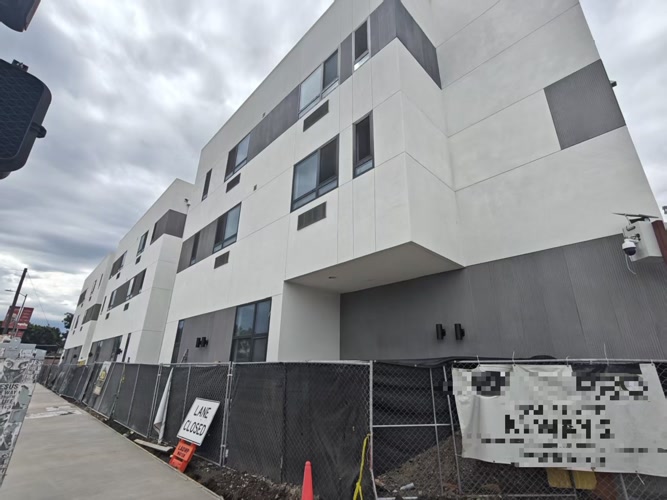
Multi-family · United States
Los Angeles apartment project
A window-and-patio-door supply reference. Review the building layout and the stated fenestration scope.
View the apartment projectProject resources & professional support
Choose the next step for your project
Find the relevant business route, or review a planning resource before preparing your opening brief.
Architects & specifiers
Bring the elevation, specification and document requirements into the design discussion.
Explore architect supportContractors & project teams
Discuss measured openings, supply boundaries and installation interfaces.
Explore contractor supportDistributors & partners
Start a discussion around your market, customer mix and proposed product range.
Discuss distribution partnershipPlanning articles & guides
Article · Opening selection
Folding doors in commercial spaces
Consider panel stacking, circulation and when another door type fits the business better.
Read the planning articleGuide · Retail operation
Retail entrance planning
Review customer routes, trading-day opening states and after-hours closing arrangements.
Explore the retail guide08 / A quote you can compare
Use one opening ID from drawing to delivery
When comparing aluminum storefront door manufacturers, ask each to quote the same assembly, responsibilities and destination.

Agree each line before production, including the items supplied by others.
- Prepare the opening brief
Country/city, opening IDs, quantities, elevation, measured dimensions, layout and required arrival date.
- Agree the supply package
Glass and hardware, assembled or knockdown supply, machining, documents, samples, packing, trade terms and installation exclusions.
- Define approval and handover
Drawing revision and release point, shipping milestones, receipt checks, installation responsibility and operating handover.
09 / After handover
Plan service and spare parts with the order
Keep the final drawings, opening IDs and fitted hardware references for maintenance and replacement parts. Discuss DERCHI's 10-year warranty terms for the selected system, including covered components, exclusions, claim procedure and labor or freight responsibilities.
Review service and warranty support10 / Before you enquire
Storefront door questions
Resolve the details that change the shortlist, quote or delivery plan.
Your next opening starts here
Send your storefront door schedule
Share the project location, quantities and opening drawings. Add your glass, hardware and arrival requirements so the supply discussion starts with a clear brief.
New build: attach an elevation. Replacement: include frame sections and hardware photos.
