


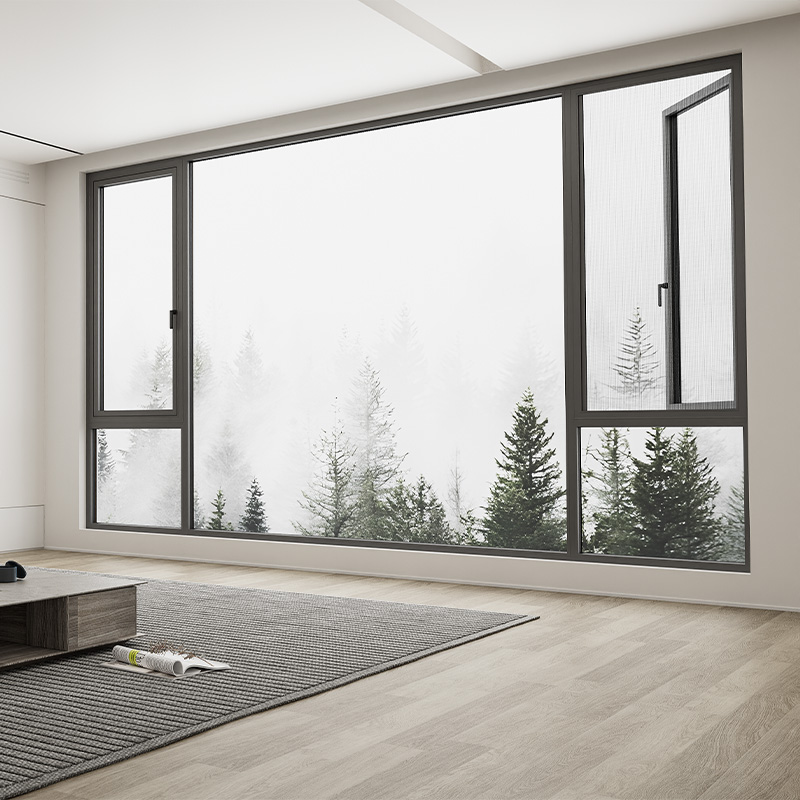
60 Inch Casement WindowBuilt around your project.
Start with a 60-inch width. Choose the height, layout and screen arrangement for your opening, then bring the details together for a project quote.
60 inches wide.
Which measurement?
An opening, a finished frame and the space you can pass through are different dimensions. Identify the reference before ordering.
60 in = 1524 mm. Send the full width × height, measurement reference and window ID. Required height is reviewed with the selected system.
If 60 inches is the height, include the width too.
One width. Different ways to open.
Balance the view, opening position and everyday access. Select a concept to see the trade-off.
Open from either side.
A central frame division splits the view. Both operable sections need to suit the selected system, glass weight and hardware.
Put ventilation where you can reach it.
Keep a larger fixed viewing area and concentrate operation on one side. The fixed section does not open.
Keep the center view uninterrupted.
Side openings add ventilation positions and more frame divisions. Coordinate each sash and screen with the available width and access.
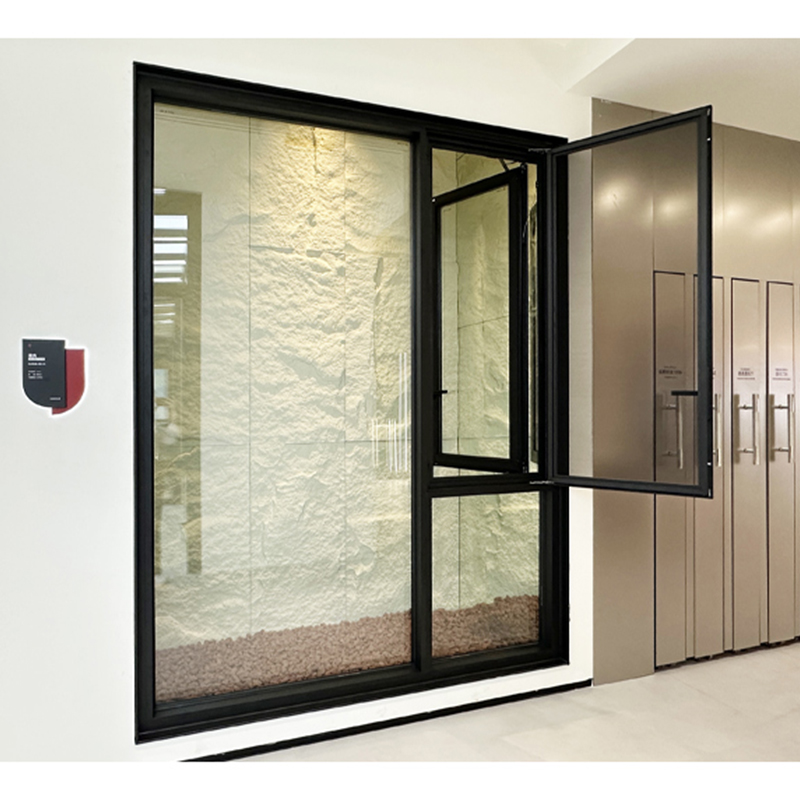
Glass sections and screen layers are counted separately. Final divisions depend on the chosen system, full W × H and approved drawings.
Start with how the screen moves.
Two DERCHI systems to discuss for an outward-opening layout. The screen arrangement changes what needs space inside.

S9
Interior screen routeConsider S9 when coordinating an outward glass sash with an interior screen. Check the screen swing against taps, worktops and blinds.
View S9 system
S6
Folding screen routeConsider S6 when a folding concealed screen suits the interior. Review its storage position, operating access and the selected sash arrangement.
View S6 systemThe layout, panel dimensions, glazing weight and hardware need to work together. Other system options, including E0, can be discussed against your requirements.

Check both sides of the opening.
- Inside: screen, blinds and worktop
An outward glass sash can still have an inward-moving screen. Check taps, blinds and handle access together.
- Outside: swing and obstructions
Allow for the actual sash movement, nearby walls and circulation space. State whether handing is shown from inside or outside.
- Use: reach and clear opening
Specify push-out or crank operation with the hardware. Review usable opening, sill height and any egress requirements for the project.
Choose for the conditions.
Compare the complete window.
Balance insulation, solar gain and daylight.
Compare whole-window U-factor for insulation, SHGC for solar heat gain and VT for daylight. Discuss the glass package alongside the frame and installation interface.
Specify the sound requirement, not just “double glass.”
Describe the noise source and required acoustic performance. Review the glazing build-up and applicable assembly report with the selected system and sash weight.
Match the glass to how the room is used.
Discuss obscured glass for privacy and the project’s safety-glazing requirements. Review light, outward view, weight and system compatibility together.
Review system, size, opening type, glass, rating units, report or certification ID and applicable status. Include the project location and any special approval requirements.

A useful quote starts
with the right details.
Layout, glass, hardware, finish, quantity and destination all affect price. Compare the same configuration and supply scope, rather than area alone.
Ask the quote to separate the window and accessories, freight, unloading, local taxes and installation work. Confirm quantities, validity and order-specific terms.
Keep every window tied to the plan.

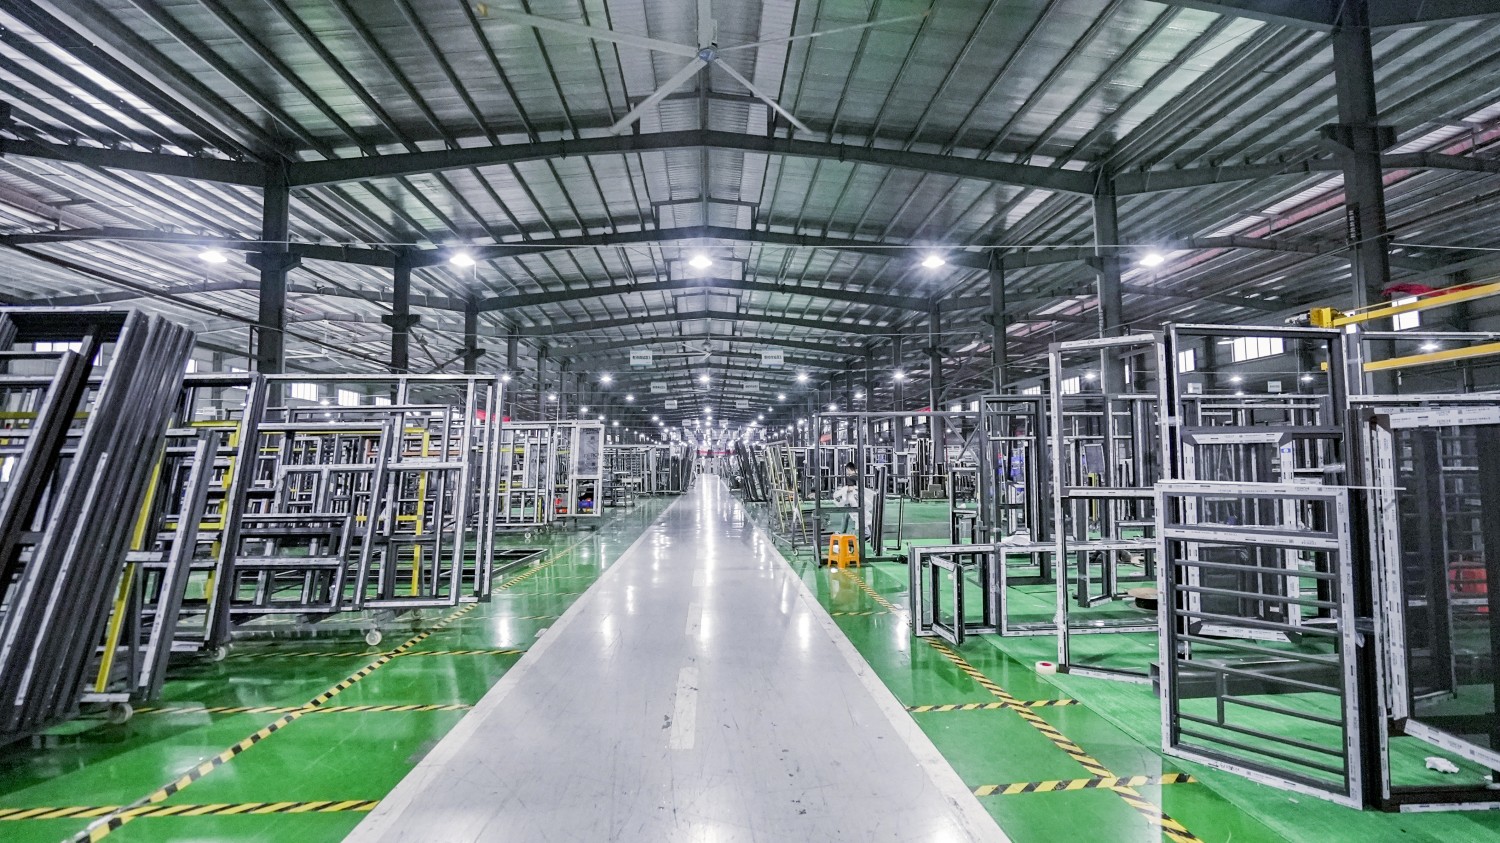
Define & coordinate
Align measurements, layout, finish samples and project interfaces.
Approve the version
Agree drawings, order scope and change or cancellation terms before production.
Prepare the package
Coordinate window IDs, included components, checks and protective packing.
Plan the arrival
Separate production and transit. Agree batches, receiver, unloading and damage-reporting arrangements.
On receipt, match the window IDs and packing list, check glass, finishes and included parts, and record any exceptions through the agreed process.
Know what is included.
Know who handles it.
Identify the glass, screen, operating hardware and any separately packed parts.
Allocate removal, installation, anchoring, flashing, sealants and site adjustment.
Agree the delivery point, freight, unloading and local taxes or duties.
Keep the order, window ID and hardware identification for future service requests.

60-inch casement
window FAQs.
Clear up the details before you send your requirements.
Send the full width × height first. This page focuses on a 60-inch width. For a 36-inch width and 60-inch height, see our 36 W × 60 H casement window page.
Do not treat the overall width as a standard single-sash size. Compare divided layouts, then review panel size, glass weight and hardware with the chosen system.
The quotation and component list should identify the screen and operating hardware. A casement window may use different operators; the name alone does not mean a crank is included.
Agree the change and cancellation terms before authorising the order. Available options depend on the agreed scope, production status and written order terms.
Start with full dimensions and their measurement reference, photos of the existing opening, quantity and destination. Explain whether the existing frame stays or the complete window is replaced, and who handles site work.
An ordinary insect screen is not a child fall-protection device. Coordinate suitable project requirements separately, including how any opening-control device affects operation and required egress.
Send your 60-inch
window requirements.
Have a window schedule? Bring it along. Planning one opening? Start with dimensions and site photos so we can discuss the configuration with you.
- W × H & reference
- Quantity
- Destination
- Layout & project needs

